Showing posts with label craft. Show all posts

Wednesday, August 15, 2012

Cuter Puppy Bed

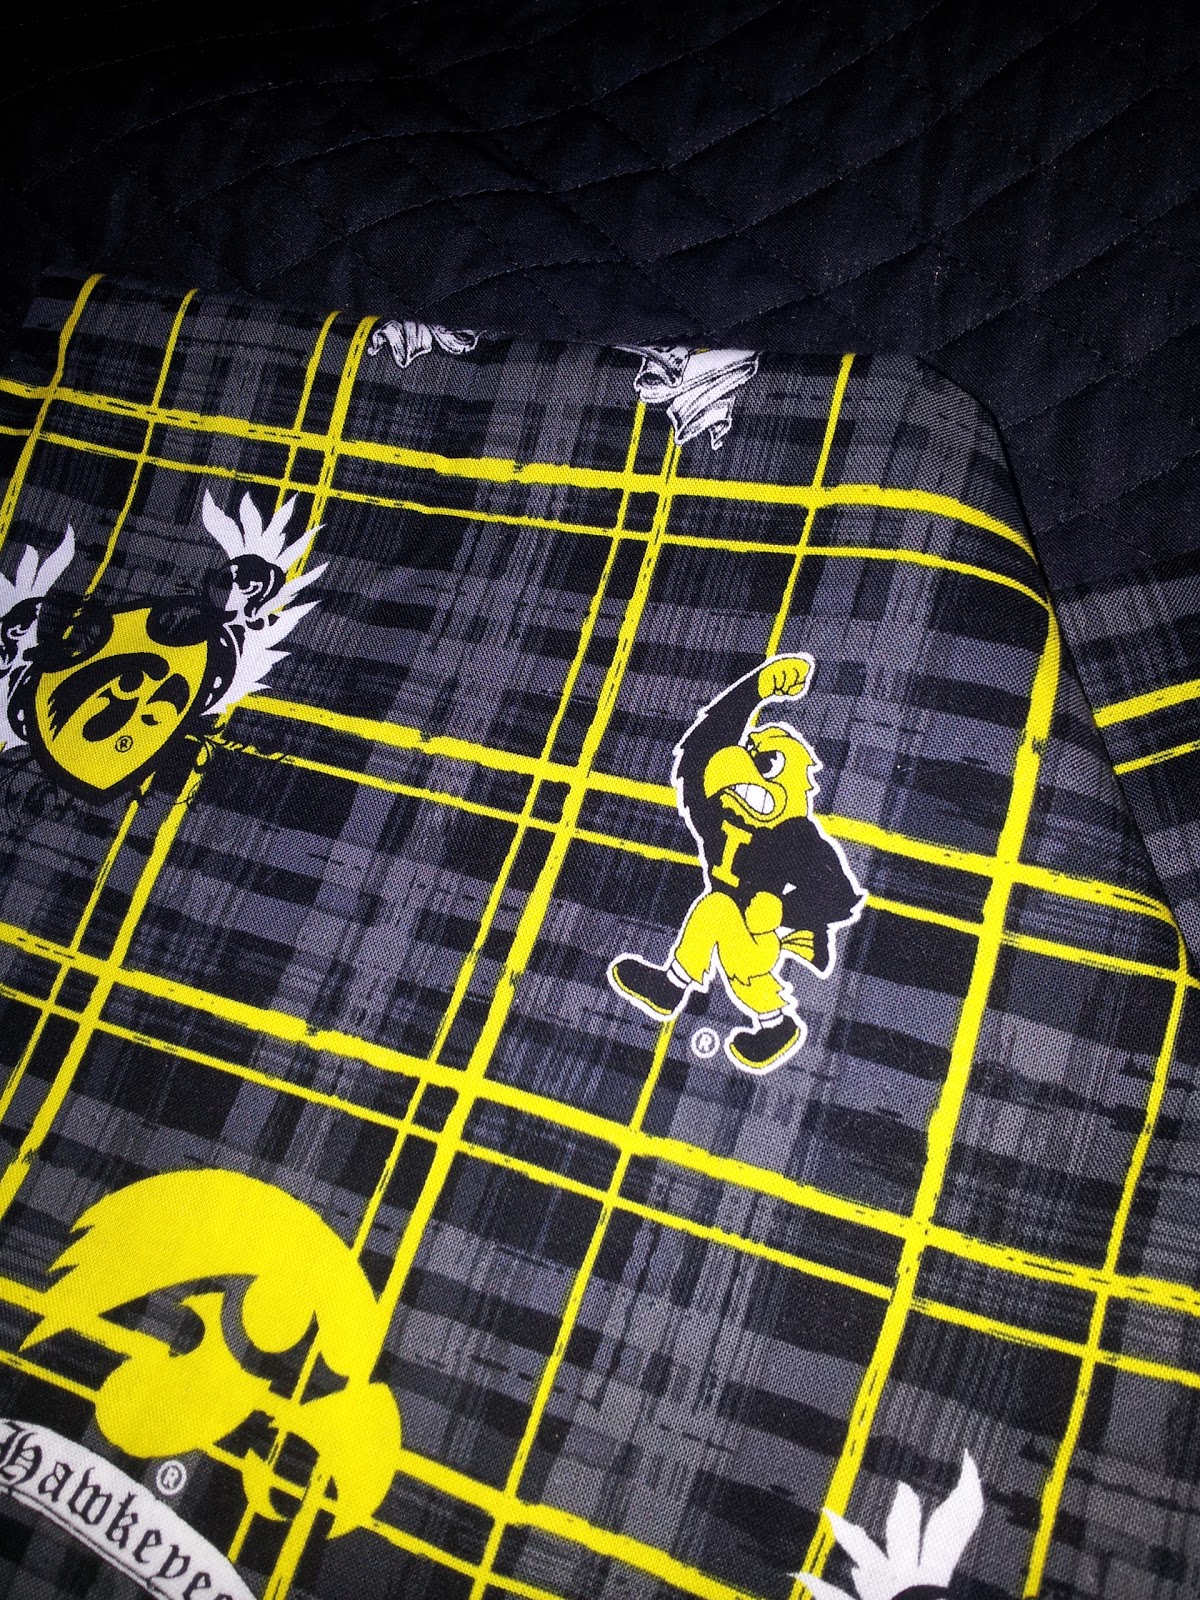
Pin It So this is a follow-up to my previous post (don't know what I'm talking about? Click here). My husband chose the fabric for the first one, and I chose the fabric for the second doggy bed... this one is more living room worthy! It has cuter (but cheaper - Walmart clearance!) fabric and has more fluff to it. Again, my puppy is a Weimaraner, so she'll get BIG, you may want to adjust the number of pillows depending on how big your puppy is.


Cute Doggy Bed Project: $46.5
6 Pillows: $24 - Again, I used old ones (so they smell like us) and put the new ones on our bed!
1 Shower Curtain: $7
2 Yards Main Fabric (Burlap): $5
1 Yard Trim Fabric (Yellow): $2.50
Zipper: $8
Duck Tape, Thread, Sewing Machine: Already Had

The first step was to make the same type of removable, waterproof interior using the shower curtains and pillows, but this time with six pillows. Again, see my previous post.

Then, measure the height, length, and width to cut 4 strips of fabric out of the trim. Next, measure the length and width of the main fabric and cut two identical pieces.
Pretty sophisticated measuring huh? Ha!
Sew together the yellow trim pieces at the corners. Then sew on the tops, again its a pretty simple pattern that I just winged. Add the zipper between the trim and top fabric and you're done! None of the pictures I took really show the process - check out my previous post if you need more of an idea, its a similar pattern. Here are the finished pictures!


I'm sure she'll grow into it!

Big belly!


Sooo sweet! Check out this GIANT paws!

Apparently the husband likes the dog beds too?


Monday, August 13, 2012

"Manly" Dog Bed

Pin It We're adding to our family with... a puppy! We got our new puppy on August 11th - she's a little Weimaraner and is as sweet as can be!

Say hello to Cedar!
Such a big dog! Ha!

In preparation for our pretty little girl we went shopping at all the pet stores - and guess what??? Dog beds, especially the big ones, are expensive and not terribly attractive... this does have to sit in my house you know! I just couldn't go there, so I decided to make it. While at the store, Zach picked out some more "manly" fabric for the puppy and decided we should make two beds - so here we are.

Adorable Puppy + Homemade Puppy Bed = Comfy naps!

Want to see a slightly bigger and fancier (but still simple) version? See my other dog bed post!

Project Expense: $36
2 Yards of Fabric: Varies (My hubby has expensive taste so it was about $15)
2 Pillows: $8
1 Zipper: $6
Shower Curtain: $7
Duct Tape: Already Had
Thread/Sewing Machine: Already Had

Step 1: Remove magnets from your shower curtain. I can just see puppy chewing through and finding these!

Magnet in the hole...
Magnet out of the hole....


Step 2: Slice your curtain in half, using the pillows as a guide.
We used our old pillows so it would smell like us... ignore my my husband's drool stains!


Step 3: Make a pocket out of the shower curtain, using the duck tape. I know this isn't fancy, but it creates a waterproof, removable interior.


Step 4: Slip the pillows in and use the duck tape to seal it up like an envelope.


Step 5: Measure and cut your fabric so it will fit around your removable, waterproof interior. I'm not too exact, but you can be! You're basically making a giant, sewn-shut pillowcase.
Carefully selected fabrics chosen by the hubby
And no, our downstairs floors are still unfinished... don't judge.


Step 6: Proceed to sew it all closed, just like you would if you were making a pillowcase, right sides together.

Always wanted to do a sewing machine shot... tre professional!

Step 7: On the final open side, sew in your zipper. I've never done this before, so I'm sure my picture/technique is all wrong, but it seems to be working!


Tah - Dah! You have a finished puppy bed!


Blurry much?

Were my nails that chipped?!


Then, wait three agonizing days to bring home the puppy so she can try it out... then take it home, use it in the car, and pretty much show it off to everyone! (In case you were wondering, everyone loved it!)

Puppy beds are for cute little nieces too, right?

Sooo sleepy after testing out the lake!

Sleepy husband and sleepy puppy!


Sunday, July 8, 2012

All grown-up!

Pin It Note: I know some of my pictures aren't rotated correctly... no matter what I did they wouldn't rotate. Sorry, but tilt your head!

My niece is going to kindergarten in August. Crazy... it doesn't seem like that long ago I was holding her at the hospital or wearing pigtails.

Anyway, the other night while she was getting ready to go to bed she was showing off all of her reading skills. She was so into that she didn't want to go to bed, which of course isn't in the least a stalling technique, simply the mark of a young genius. So what does an English teacher who loves her niece and just happens to have a lot of time on her hands because her house still hasn't closed do? Make reading activities of course!

First up, my basically free "Reading Slider". First the supplies:
Paint samples in 3 colors, get the long ones
1 larger "fat" paint sample
Exacto knife
Sharpie
Scissors


1) Cut the colored paint strips in half (you don't really have to do this, but I felt guilty about taking the paint samples, so I tried to conserve).
2) Place beginning letters on one color, vowels on another, and ending consonants on a third. You can find the best letters to use by visiting sites like this.

3) Use an exacto knife to cut small slits in the "fat" sample, make sure they're large enough so you can weave your letters in. You could even laminate these pieces to make them more durable. I chose to make 4 slits so she has room to grow. Check out the pictures to get an idea of what I mean.
Level 1 - CVC Construction.


Level 2 - CCVC Construction, blending beginning sounds.
Level 3 - CVCC Construction, Blending ending sounds


Level 4 - CVVC Construction, Vowel blends

4) Teach the child how to use it to practice their mad skills.


The other project I did, the "Beginning Sound Exchange" was her favorite. It was also very budget friendly! Here are the supplies:
1) Markers
2) Word families site
3) Scissors
4) Spiral Bound Index Cards (I used these from Wal-Mart for $1.24)

1) Choose a few word families that you'd like to use and the words you would like to use. I used "an", "ap", "at", "ed", and "ip". I went with pretty simple ones for her to start with, but I also wanted to vary the ending consonant to give her more practice.


2) Give each section a heading card to keep them all separate and attach a "tab" (I used extra index card paper) to the title page. Cover the entire tab with tape to make it durable.


3) Count the number of index cards needed for the word family and make a slice 1/3 of the way through each card. Then, remove the large section from all but one card. This sounds confusing, but really isn't. Just write the beginning sound on the smaller, 1/3 portion. Only one piece should have the family's ending, like "an".
See how you can flip through the beginning letters without touching the word family part/
4) Repeat this step for all of the word families.

5) Then you can decorate/laminate the booklet. Next time, I'll reinforce the perforation to make sure it lasts.


I gave her all of the reading supplies in a decorate pencil pouch so she can have it all organized so her mom doesn't have to clean up paint samples and index cards for car trips or in the house.

I don't have a picture/video of her using it, but trust me, she was all about the "Beginning Sound Exchange" booklet. The "Reading Slider" takes a little more time and practice to figure out, and the skill is a little more advanced because she has to create the words, not just read them. Happy reading!!


Thursday, June 28, 2012

Pinterest Project - Door Hanger

Pin It Back again! Summer has flown by already - hopefully July slows down. One of the Pinterest projects for this summer was making a door hanger for our front door at our new house! Our front door is in our enclosed porch so we don't have worry about the elements on our pretty new hanger - so I got to be a little more free in our decor choices. Here is a link to the original idea (in case you'd rather just buy one!).

Total Project Cost: $25 (I was at my parents so I had to buy everything new)

  • Letters: 3 @ $3 each
  • Flowers: 2 for $5
  • Pearls: $2
  • Paint: 3 @ .60 each
  • Brushes: $5

Here is my how-to:

First I laid out all of my supplies to decide how I wanted it to look. I thought about making it a typical monogram, but it was going to be hard to put it together, so I settled on this instead.


I painted the all of the letters grey, but not on the edges.


After it dried I used painter's tape and painted the opposite letter to create the striped effect. After this was finished I put the contrasting color on the edges.
I wanted to use a hot glue gun to put it all together, but all my mom couldn't find it so I settled for gorilla glue. Again I used painter's tape to hold all the pieces together while the glue dried.
Once that was dried I put on the embellishments with more gorilla glue.
Add some string to hang it by (again with gorilla glue - working with limited supplies!) and voila! You have it!


My mom already wants me to make her one for Christmas! Maybe I've started something! :) I'd love to find the big letters like the Pinterest inspiration had though for next time - but I do like the contrasting 3D vibe of mine. These are the primary colors I want to work with in our house. What do you think?
Happy crafting!