Showing posts with label design. Show all posts

Monday, August 13, 2012

"Manly" Dog Bed

Pin It We're adding to our family with... a puppy! We got our new puppy on August 11th - she's a little Weimaraner and is as sweet as can be!

Say hello to Cedar!
Such a big dog! Ha!

In preparation for our pretty little girl we went shopping at all the pet stores - and guess what??? Dog beds, especially the big ones, are expensive and not terribly attractive... this does have to sit in my house you know! I just couldn't go there, so I decided to make it. While at the store, Zach picked out some more "manly" fabric for the puppy and decided we should make two beds - so here we are.

Adorable Puppy + Homemade Puppy Bed = Comfy naps!

Want to see a slightly bigger and fancier (but still simple) version? See my other dog bed post!

Project Expense: $36
2 Yards of Fabric: Varies (My hubby has expensive taste so it was about $15)
2 Pillows: $8
1 Zipper: $6
Shower Curtain: $7
Duct Tape: Already Had
Thread/Sewing Machine: Already Had

Step 1: Remove magnets from your shower curtain. I can just see puppy chewing through and finding these!

Magnet in the hole...
Magnet out of the hole....


Step 2: Slice your curtain in half, using the pillows as a guide.
We used our old pillows so it would smell like us... ignore my my husband's drool stains!


Step 3: Make a pocket out of the shower curtain, using the duck tape. I know this isn't fancy, but it creates a waterproof, removable interior.


Step 4: Slip the pillows in and use the duck tape to seal it up like an envelope.


Step 5: Measure and cut your fabric so it will fit around your removable, waterproof interior. I'm not too exact, but you can be! You're basically making a giant, sewn-shut pillowcase.
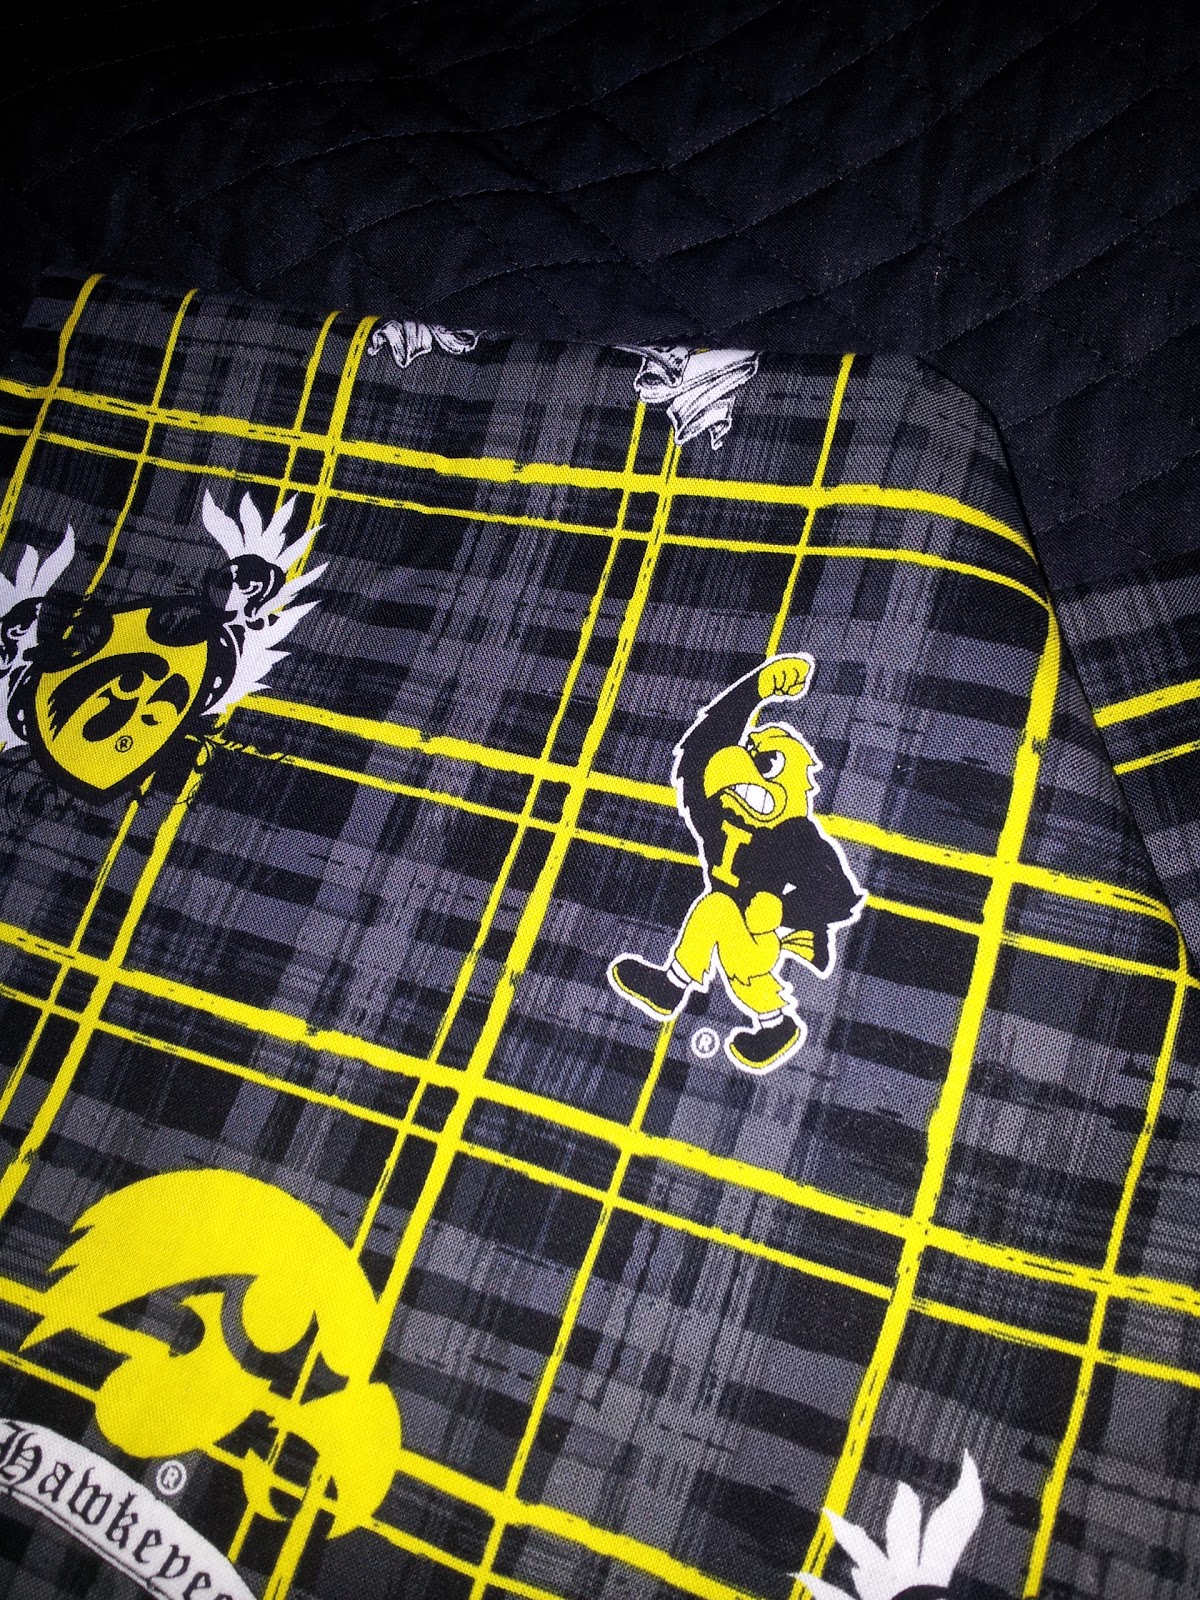
Carefully selected fabrics chosen by the hubby
And no, our downstairs floors are still unfinished... don't judge.


Step 6: Proceed to sew it all closed, just like you would if you were making a pillowcase, right sides together.

Always wanted to do a sewing machine shot... tre professional!

Step 7: On the final open side, sew in your zipper. I've never done this before, so I'm sure my picture/technique is all wrong, but it seems to be working!


Tah - Dah! You have a finished puppy bed!


Blurry much?

Were my nails that chipped?!


Then, wait three agonizing days to bring home the puppy so she can try it out... then take it home, use it in the car, and pretty much show it off to everyone! (In case you were wondering, everyone loved it!)

Puppy beds are for cute little nieces too, right?

Sooo sleepy after testing out the lake!

Sleepy husband and sleepy puppy!


Monday, July 30, 2012

Front Yard

Pin It First of all I'd like to say my mom is a superstar... amazing... incredible.

She has come up to visit us (3 hour trip both ways!) the last two weekends to help us with our house. And by help, I mean really help and tell us what to do - we've never done this after all! But fist she prepared us an awesome and adorable picnic lunch.

Back to the yard... Yesterday she weed-wacked everything like a pro. This morning I woke up to her doing our very dirty dishes (thanks mama!). Then today, she masterminded, and did more than a fair share of the labor for this amazing feat (plus the backyard... which is to come later).

Yep, she is amazing... and this doesn't even show it all! And my amazing husband is a pretty great hard worker too, I think he took about 100 yards to the recycling center to haul all the yard waste... oh yea and he carried all the granite landscape rock! But can you see that stone edging... all me baby! (Even if that is pretty much all I did!)

Here is what we did, mixed in with several trips to the recycling center and the store:
1) Trimmed bushes
2) Raked around bushes
3) Pruned (lopped) off the unwanted bushes
4) Laid PREEN 25 year fabric over the ground to prevent weeds
5) Stapled in the PREEN
6) Relocated rocks to create a natural edger
7) Transplanted and watered some flowers (not in the picture) into the PREEN
8) Put 43 bags of pink granite over PREEN

And tomorrow we will go buy more... because we still aren't done, but the store was sold out of our color of stone! Steps 1-2 were last weekend and the rest we did this weekend.
I've got a hardworking husband and mom... maybe it has something to do with them sharing the same birthday? I swear they're the same... more on that strangeness later, ha!

Thursday, June 28, 2012

Pinterest Project - Door Hanger

Pin It Back again! Summer has flown by already - hopefully July slows down. One of the Pinterest projects for this summer was making a door hanger for our front door at our new house! Our front door is in our enclosed porch so we don't have worry about the elements on our pretty new hanger - so I got to be a little more free in our decor choices. Here is a link to the original idea (in case you'd rather just buy one!).

Total Project Cost: $25 (I was at my parents so I had to buy everything new)

  • Letters: 3 @ $3 each
  • Flowers: 2 for $5
  • Pearls: $2
  • Paint: 3 @ .60 each
  • Brushes: $5

Here is my how-to:

First I laid out all of my supplies to decide how I wanted it to look. I thought about making it a typical monogram, but it was going to be hard to put it together, so I settled on this instead.


I painted the all of the letters grey, but not on the edges.


After it dried I used painter's tape and painted the opposite letter to create the striped effect. After this was finished I put the contrasting color on the edges.
I wanted to use a hot glue gun to put it all together, but all my mom couldn't find it so I settled for gorilla glue. Again I used painter's tape to hold all the pieces together while the glue dried.
Once that was dried I put on the embellishments with more gorilla glue.
Add some string to hang it by (again with gorilla glue - working with limited supplies!) and voila! You have it!


My mom already wants me to make her one for Christmas! Maybe I've started something! :) I'd love to find the big letters like the Pinterest inspiration had though for next time - but I do like the contrasting 3D vibe of mine. These are the primary colors I want to work with in our house. What do you think?
Happy crafting!

Friday, June 1, 2012

Inspiration

Pin It Check out my compilation of fabrics. What do you think? Which ones do I keep and which do I lose? I'm thinking of "theming" these throughout the house to create a coherent feel without being matchy-matchy. Think of the following: front porch, kitchen, window treatments, throw pillows, rugs, and throw blankets.
P.S. The tan background is because that it approximately what color my existing bedding and couches are.